Bring Yesterday Into Today: DIY Digitizing for Precious Memories

Start Smart: Preparing Your Archive
Gather, Sort, and Prioritize Without Overwhelm
Empty the closet, but resist perfectionism. Create quick piles: prints, slides, negatives, videotapes, and unknowns. Prioritize by significance, rarity, and fragility, not just convenience. Use index cards to track stories while elders still remember them. Photograph the original envelopes for contextual clues. Set a timer, take breaks, and post your sorting questions so our community can suggest gentle ways to group, label, and steadily progress without losing patience, focus, or the tiny details that make family history sparkle.
Gentle Cleaning That Respects Paper, Film, and Tape
Dust and fingerprints sabotage quality, so clean carefully. Use a blower and soft microfiber cloth; avoid household cleaners entirely. Cotton gloves help, but clean dry hands often work best for dexterity. For slides and negatives, an anti-static brush and patience protect emulsion. Keep tape paths and VCR heads clean for steadier captures. Share what works in your climate and materials, because humidity, storage boxes, and even pet hair can change strategies. Post before-and-after experiences to help others adapt their approach safely and confidently.
Crisp Results from Printed Photos
Resolution, Bit Depth, and Color Management Made Friendly
Aim for 600 dpi for small prints you may reprint or crop; 300 dpi often suffices for casual sharing. Sixteen-bit color preserves subtle tones when restoring faded skies or skin. Calibrate your display, or at least reduce screen brightness to avoid over-editing. Save a master as TIFF, then export JPEGs for easy sharing. If those terms feel heavy, post your equipment and goals and we will tailor practical, step-by-step settings, translating numbers into choices that feel comfortable, sustainable, and kind to your available time.
Flatbed Scanner Workflow That Balances Speed and Quality
Place multiple prints on the glass with slight spacing, preview, then crop individually to avoid cutting edges. Turn off aggressive auto enhancements that can crush gentle midtones. Scan once at archival settings, then create resized access versions. Keep dust covers clean and lids fully closed to block stray light. Batch naming saves hours later. If you hit moiré from printed halftones, enable descreen. Share screenshots of your scanner dialog here, and we can suggest sane defaults that relieve decision fatigue while protecting quality.
Using a Smartphone When a Scanner Is Not Around
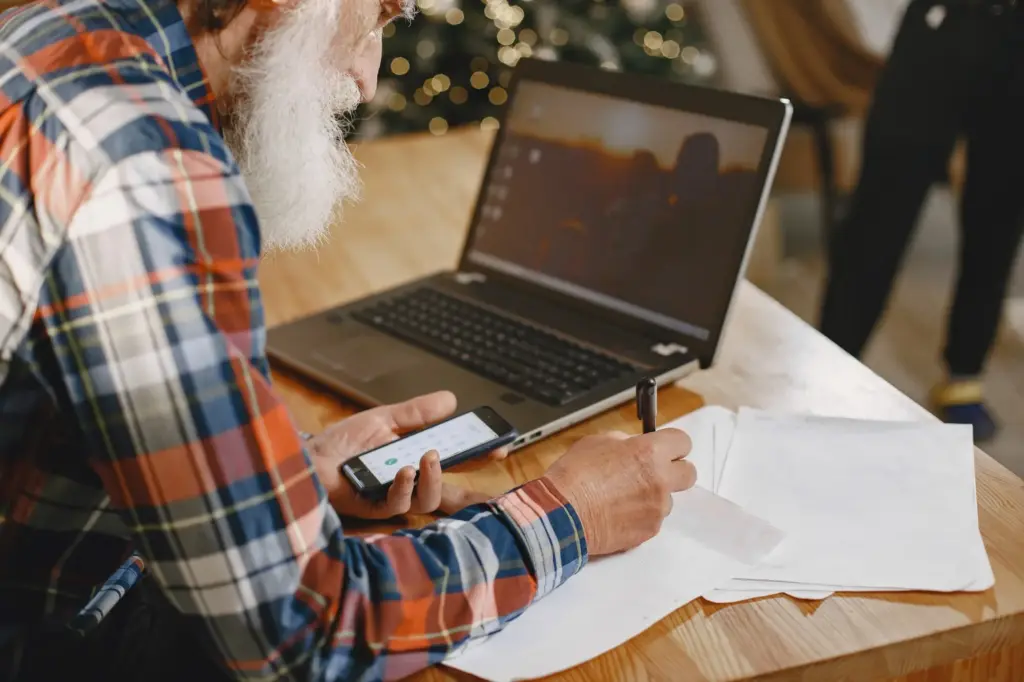
A phone can do surprisingly well with steady support and even light. Use a tripod or stack books and a window for diffuse daylight. Avoid shadows, shoot perpendicular, and enable grid lines for alignment. Capture in the highest quality. Apps that auto-detect edges, correct perspective, and export TIFF or high-bitrate JPEG elevate results. Consider a simple copy stand and a polarizing filter to reduce glare. Post a sample and your setup; community tweaks often unlock sharper text, truer colors, and faster, happier sessions.
Slides and Negatives: Detail on a Budget

Connections, Adapters, and Clean Playback Paths
Start with a well-maintained deck or camcorder. Use S-Video when available for cleaner luma, and quality RCA cables for audio. Avoid daisy-chained adapters. A reputable USB capture card and short cables reduce noise. Clean tape paths with proper swabs and isopropyl, or consult a technician if unsure. Capture to a fast drive and monitor levels for clipping. Share your gear photos and sample clips; together we can diagnose buzzing audio, rolling frames, or odd colors, and suggest practical fixes that actually stick.
Improving Stability with TBCs, Proc Amps, and Filters
A line Time Base Corrector stabilizes wobbly lines, while a full-frame TBC helps with sync. Proc amps adjust brightness, contrast, and color gently before digitizing. Light filtering can reduce chroma noise. If hardware is scarce, borrow, rent, or collaborate with neighbors. Software stabilization helps, but good input reigns supreme. Post a troublesome clip and your chain; we can recommend realistic adjustments so faces stop bending, audio holds sync, and your capture feels smooth, watchable, and pleasantly faithful to living-room reality.
Deinterlacing, Aspect Ratios, and Sensible Codecs
Capture interlaced to preserve motion, then deinterlace with motion-compensated methods when creating viewing files. Respect aspect ratios; avoid stretching people unnaturally. Keep an archival master in a lossless or lightly compressed format, then export H.264 or HEVC for streaming convenience. Document your choices so future you understands why they were made. If settings overwhelm, share a short sample and intended use, and we will outline friendly presets that remain portable, honest to the source, and easy for family members to enjoy.

Restoration, Editing, and Storytelling
Backup, Storage, and Sharing That Last
The 3-2-1 Approach with Real-World Tools
Formats, Checksums, and File Names You Can Trust
Private Albums, Family Access, and Gentle Privacy
All Rights Reserved.